- Site
-
Page
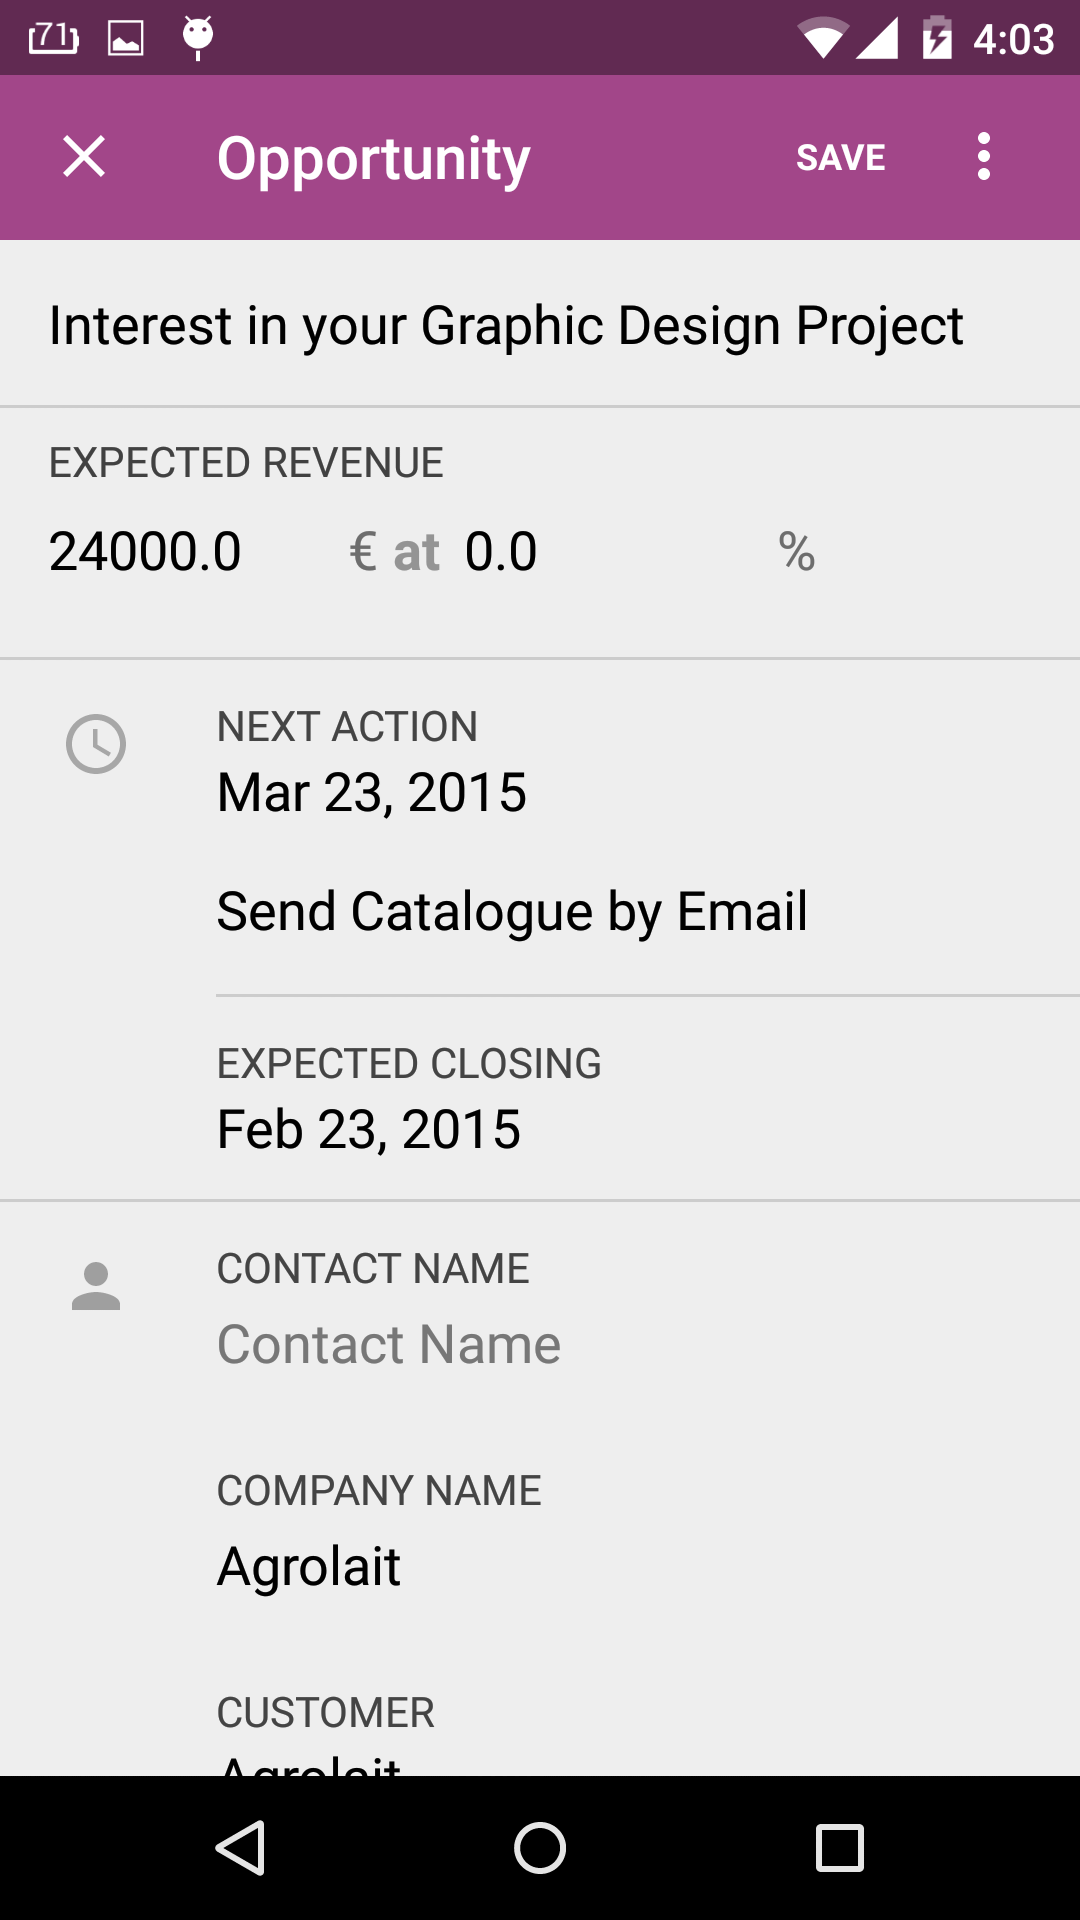
- Controls (Form, Fields, actionbar spinner)
OFormwidget- Initialize form widget
OFieldwidgetfieldName: stringiconResource: referenceiconTint: reference|colorshowIcon: boolean,showLabel: booleanparsePattern: stringwithOutSidePadding: booleanfieldType: enumwidgetType: enumwidgetImageSize: dimensionwithBottomPadding: booleanwithTopPadding: booleandefaultValue: reference|stringdefaultImage: referencevalueArray: referencefieldTextAppearance: referencefieldTextSize: dimension,fieldLabelSize: dimensionfieldTextColor: color ,fieldLabelColor: colorfieldLabelTextAppearance: reference
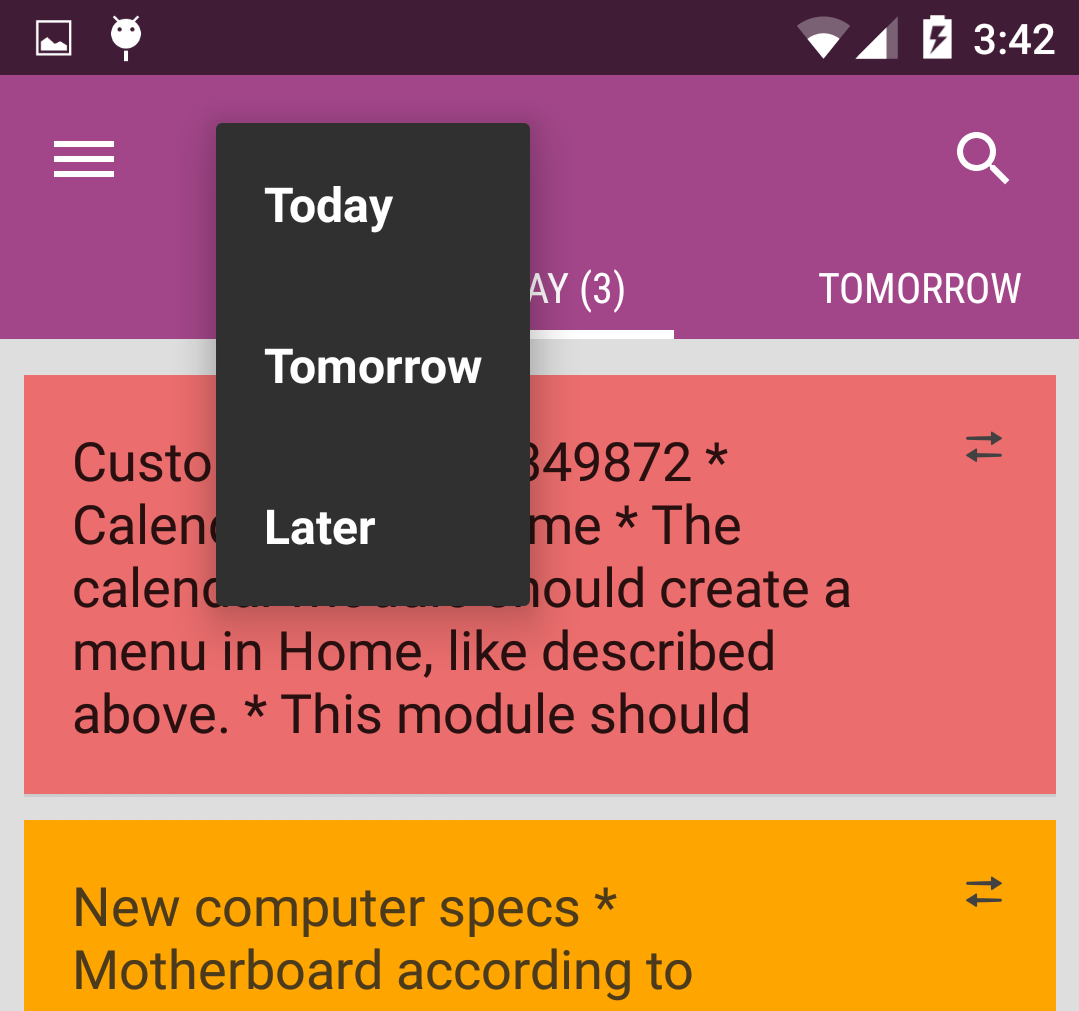
- Actionbar Spinner
- Controls (Form, Fields, actionbar spinner)
- « Addons
- Chatter view »